Hello tree!
We’ve had plenty of talk about the editor and layers - let’s put this information into action! We’ll build a new level and populate it with a completely functional tree.
Step 1: Create a level
Either zoom out massively, or press [W] (cheat sheet!) to go to the World View. Right click and click on [New Level] to create a level. Now click on the level to send you straight in!
Step 2: Giving the level a (legal) name
Your new level will probably have a bit of a dubious name, e.g. “Level_15”. This name is not legal in Ulix and will crash the game. Press the current level tab [F2] to go to the level settings and disable [Use auto identifier]. This will allow you to rename your level.
There are two kinds of levels: levels and instance levels. The difference is that instance levels are levels within another level (such as a house), whereas levels are standalone. You define your level to be a level or instance level via the naming scheme:
| Level |
|---|
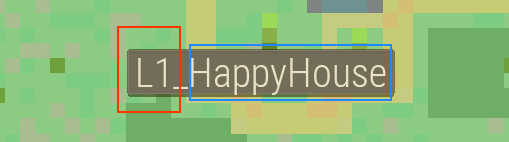 |
| -Tall red rectangle: unique level ID (Capital L + number from 1 to 999) -Low blue rectangle: name of the level in Pascal Case, no underscores allowed. |
| Instance |
|---|
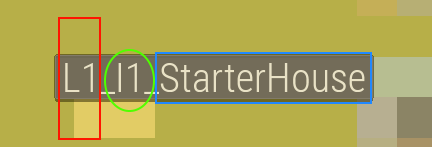 |
| -Tall red rectangle: containing unique level ID (Capital L + number from 1 to 999)
-Green circle: unique instance ID (Capital i + number from 1 to 999) -Low blue rectangle: name of the level in Pascal Case, no underscores allowed. |
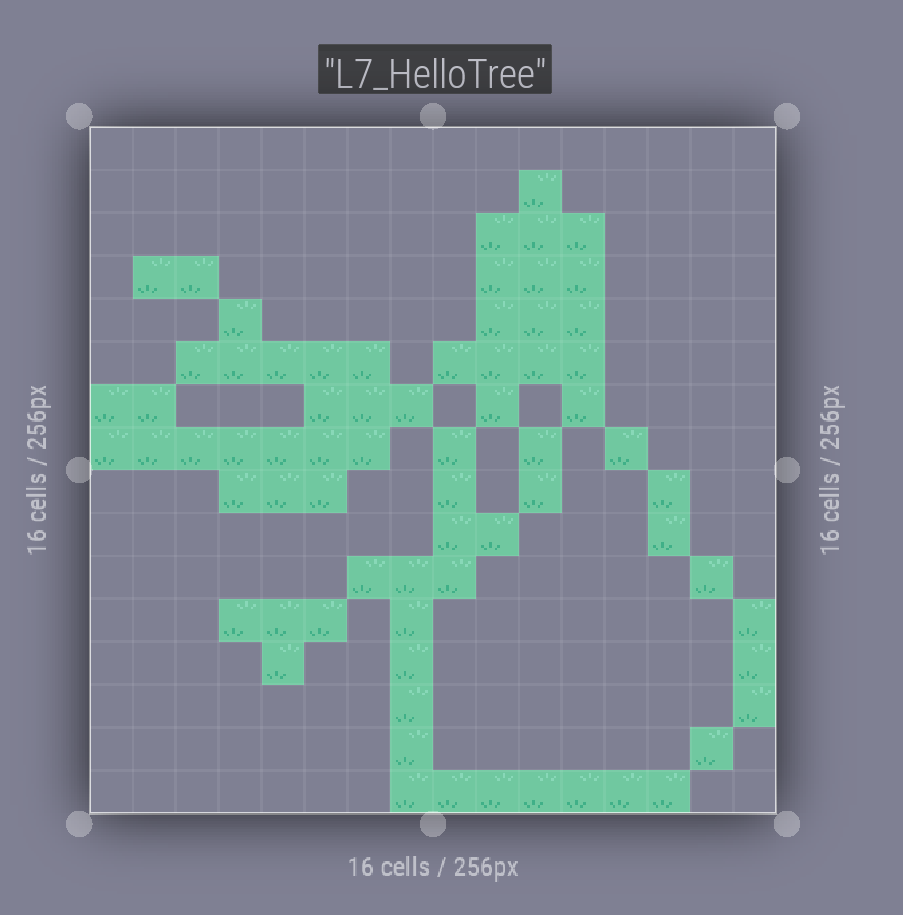
In my LDTK world level 7 seems to be available. A good name would thus be “L7_HelloTree”.
Step 3: Shaping the ground
Great! We have a level, but it is quite empty. Let’s start with adding some ground for our players to walk on. Scroll all the way to Ground A and select that layer to start painting the level. I suggest taking one of the above grass tiles to start with.
I’m not sure if it’s my painting skills, but manually filling the entire level with ground tiles is not very efficient. Luckily we have some shortcuts available in LDTK for drawing rectangles and for flood filling. ([H] cheat sheet!). I personally prefer a bit of variety in my grass landscape. By selecting all 5 grass tiles in the top row and enabling Random Mode [R] LDTK will randomly sample grass for us.
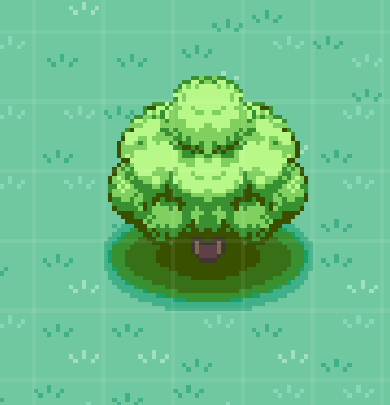
Step 4: Build a tree
Next up is the actual tree! Switch to Structures A and select the tiles that form our tree base. Don’t forget to toggle off Random Mode if you’re placing the whole base in one go!
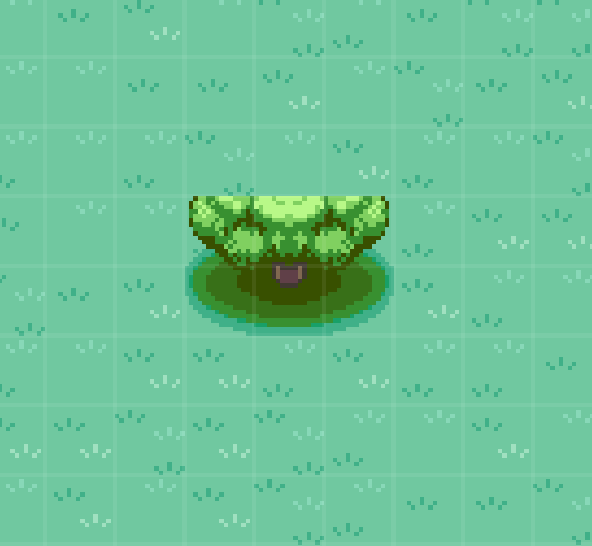
Now that the tree base has been placed we can add the upper branches which don’t have collision. As these should be above the player we should switch to Rooftops A. Crown our tree with the upper tiles to finish our tree!
Step 5: Plural
One lone tree is not going to fill a forest. While you could construct every tree by hand, LDTK provides us with some shortcuts to duplicate what we made, even if it spans multiple layers! As always, the cheat sheet [H] provides shortcut information.
- Select your tree by holding [shift+alt] and dragging your left mouse button.
- Now duplicate your tree by holding [ctrl+alt] and dragging your left mouse button to a new location.
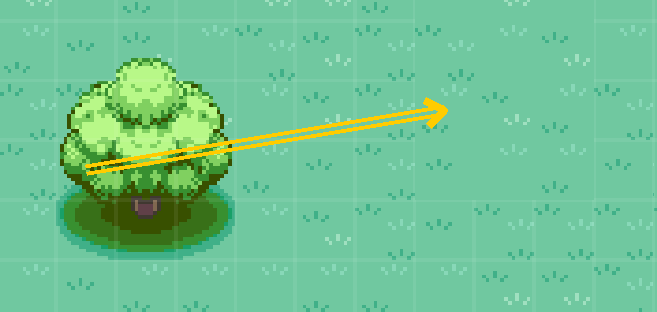
Notice that the new trees are correctly split over the layers as well, ensuring our player (and other entities) can interact with the level correctly.